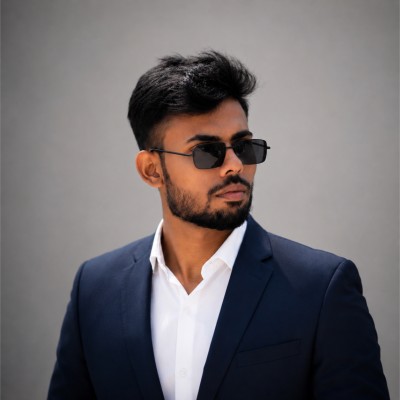
Why passport photos get rejected
Government portals use automated checks and manual reviews to verify passport photos. Even a small mistake — wrong background shade, excessive shadows, or incorrect framing — can trigger an instant rejection. Understanding the rules before you shoot saves time, money, and frustration.
According to official statistics, nearly 1 in 4 passport photo submissions are rejected on the first attempt. The most common reasons include incorrect dimensions, non-compliant backgrounds, and facial expression issues.
The Dos: What you must get right
- Use a plain white or off-white background. Most countries require a clean, uniform background. Avoid walls with patterns, textures, or visible objects.
- Face the camera directly. Your head should be centred with both ears visible. Avoid tilting or turning your head.
- Keep a neutral expression. Close your mouth, relax your face, and look directly at the lens. Learn if you can smile in passport photos.
- Ensure even lighting. Soft, diffused lighting eliminates harsh shadows. Natural light from a window works well. See our lighting guide.
- Wear normal clothing. Avoid uniforms, bright patterns, and clothing that blends with the background. Full clothing guide here.
- Match the required file size. Most portals accept JPEG between 20KB and 200KB. Use PhotoResizer's Image Resizer to hit exact targets.
- Use the correct pixel dimensions. Typically 600×600 px or as specified. Our Pixel Resizer makes this instant.
Need to resize or fix your photo right now?
Try our free AI compliance checker — instant results, no sign-up.
The Don'ts: Common mistakes to avoid
- Don't use filters or beauty modes. Passport authorities need your natural appearance. No smoothing, colour grading, or AI enhancements.
- Don't wear glasses unless medically required. Many countries now ban glasses in passport photos entirely. See the full glasses policy.
- Don't use a selfie stick or smartphone front camera at arm's length. Wide-angle distortion can make your face appear unnaturally wide.
- Don't crop too tightly. Leave adequate space above your head and below your chin. Most standards require the head to occupy 70–80% of the frame height.
- Don't submit screenshots. Always save the original file — screenshots compress the image and reduce resolution drastically.
- Don't wear headwear unless for religious or medical reasons. Hats, caps, and headbands are not permitted.
Digital file requirements at a glance
| Parameter | Typical requirement |
|---|---|
| Dimensions | 600×600 px (square) or 35×45 mm equivalent |
| File format | JPEG / JPG |
| File size | 20KB – 200KB |
| Background | Plain white or light grey |
| Colour space | sRGB, full colour |
Need to resize your photo to a specific KB? Use our exact KB resizer guide or the online tool directly.
How to prepare your passport photo with PhotoResizer.us
- Take the photo against a white wall with natural light.
- Upload to Image Resizer — it works entirely in your browser, no uploads to servers.
- Set dimensions to 600×600 px (or country-specific size).
- Set target file size to 150KB or your portal's requirement.
- Change background if needed using the Background Color Changer.
- Download and submit. Your photo is ready.